![]()
ACME ADAPTERS EXTREME HI-STEER
BUILDING A NEW FRONTBUMPER FOR THE SAMURAI
Due to my limited webspace at the provider I decided to remove all the big pictures behind the thumbnails on the "SAMURAI"pages, if you want any of the pics in a bigger size, mail me and I will send them to you !
Of course I didn't like the standard frontbumper of the Samurai after looking at all the cool pictures of Sammies on the Web, so I decided to print most of the pictures I liked and try to copy the one I liked the best: the Calmini C2, made of double tubing but without the winch.
Called my good friend Mustang Sally ( actually the name of his bike, a geriatric Guzzi ;-) ) and went to the business of 2 friends of mine who own a metalworkshop to make a start.
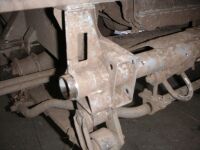
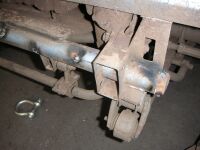
We couldn't figure out how to attach the bumper to the chassis on the side where the steeringhouse is on the chassis. The right side's no problem, the chassis is free of stuff there. We finally decided to make 2 brackets that we bolted to the chassis through the 2 holes ( each side ) that are already in the chassis. We cut the original bumper"bar"as close too the upright bracket as possible. To make the bumper"bar" stronger we inserted a thickwalled tube in the "bar" and welded it at the ends ( we also drilled 12mm holes in the "bar" and spotwelded the inserted tube to the bar", a trick I read about on the Internet on one of the many Samuraisites ;).
Pics on this, lower on this
page.
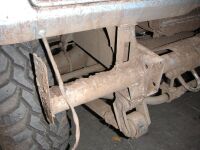
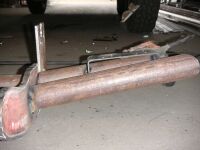
Lower brackets clamped to the chassis for measuringpurposes

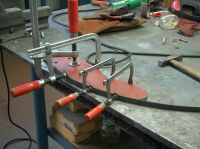
We cut 2 long pieces of flat metal to make the uprights to be bolted to the lower brackets with 3 12 mm bolts so we can always take out the middle part easy ( actually we planned on welding the 2 lower brackets to the chassis but were advised against it by various people ;) ).
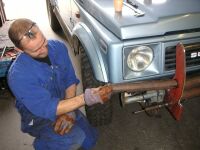
Time to do some cutting, grinding, drilling, sweating, drinking loads of coffee and hammering
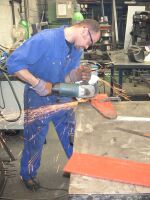
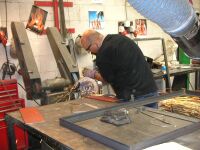
Above: Mustang Sally Above: NitroMax ( always with cigar )
We cut a couple of pieces of 6 cm thickwall tube for the bumpers and a piece of 5 cm thickwall tube for the topbar to see what it would look like......................Well, good actually !!!!

We've cut the outer bars of the bumper 10 degrees so they will end flush with the bodywork.
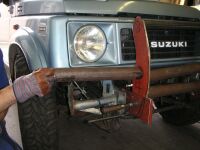
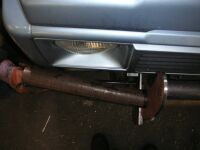
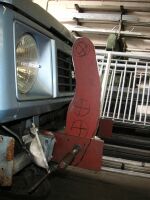
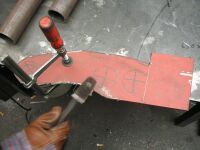
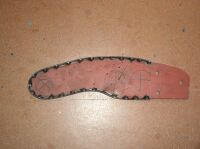
Belowe a picture of the original bumper"bar", followed by a pic of the cut "bar" with the smaller tube inside and the drilled and spotwelded "bar" ( as well as the welded outer rim ).
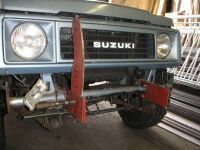
We then bolted the lower brackets to the chassis, bolted the risers on ( on which Mustang welded 15 mm strip on the edge to give it a sturdier look without adding too much weight )........
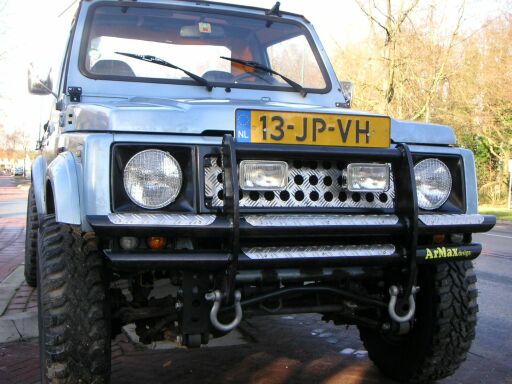
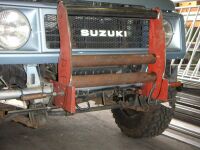
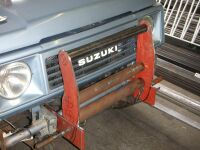
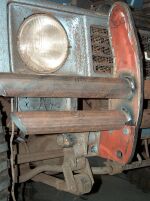
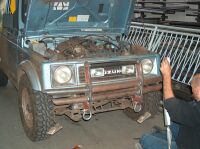
........and made a bracket on the back of the bumper for the indicator ( seen in picture #2 from the top and on the 3rd picture it's visible in between the bumperbars ). I decided to have the bracket welded to the back of the bars, but found out it's very hard ( if not impossible ) to mount and replace the lights, so they'll have to come off again and we'll weld 2 small tabs next to the position of the indicatorbrackets to which they can be bolted so they are removable.

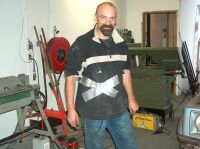
As you can see in the 3rd picture above and on the picture below, we've cut the outside ends of the bars 60 degrees, making the bumper look less heavy. And yes, in the picture below I am using DuctTape to put the original indicators on the new bumper because the new indicators didn't fit too well ;-)
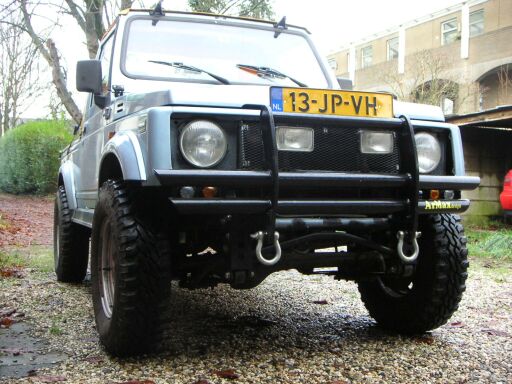
The finished product looks like this:
As we all know: Always wear protective clothing when grinding or welding, the DuctTape is covering a big hole in my sweater and T-shirt underneath. I had some pretty big blisters from burning my skin while grinding.
Had a friend of mine make me some Diamond Plate details for the front bumper and I made a Diamond Plate insert for the radiator. I think cooling will be okay, after removing the standard frontbumper the bottomhalf of the radiator is exposed.
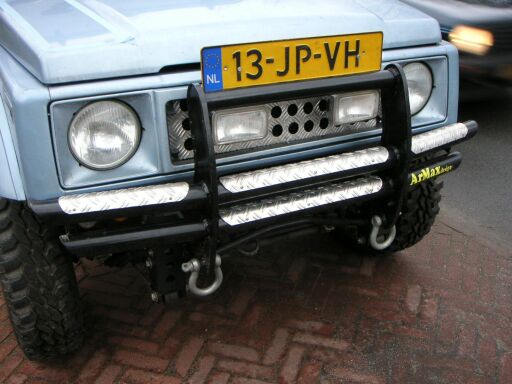
Painted the grillsurround SatinBlack and put the protective meshes I bought on Ebay.co.uk on the headlights ( hardly visible in this picture )