![]()
ACME ADAPTERS EXTREME HI-STEER
3" CALMINI SHACKLE
REVERSAL
Due to my limited webspace at the provider I decided to remove all the big pictures behind the thumbnails on the "SAMURAI"pages, if you want any of the pics in a bigger size, mail me and I will send them to you !
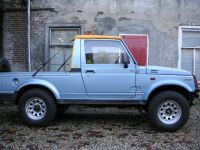
Of course I couldn't leave the Samurai standard height, I just had to have it higher than standard. The 215 Colway tires that came with it made it just a little bit higher, but not high enough for me.
So on this page you can see a step by step story on "Raisin' the Samurai"
I've already ordered a 3" suspensionraise from Iron Man, Australia from Suzy's Place ( link on my "Links"Page ), but that will take some time to arrive. Just have to be patient. ( done )
SPOA is also in the plans but I'll wait with that conversion 'till the IronMan stuff gets here so we can do it all at the same time. ( done )
When I walked into the OffRoadCentre in Utrecht ( "Links"Page ) Kevin came up to me with a big grin. He'd been up in the attick looking for some old stock on Samuraistuff they have and came up with a Calmini Shackle Reversal Kit, brandnew in a box. Had to think about 3 seconds and decided I'd buy it from him, together with 3 cm wheelspacers.
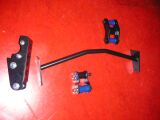
Because there was no instructions in the box anymore I printed some articles from the Internet about this conversion and set too it, together with Mustang Sally, my Samurai Co-wrench ;-)
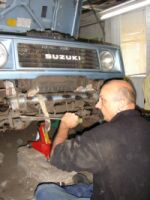
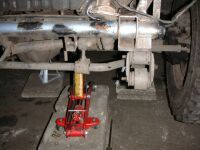
Setting the Samurai up with axlestands, bricks, pieces of wood and a too small hoist took the good part of 30 minuten, but we wanted to be sure we coulde work under the car without it crashing upon us.
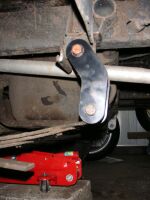
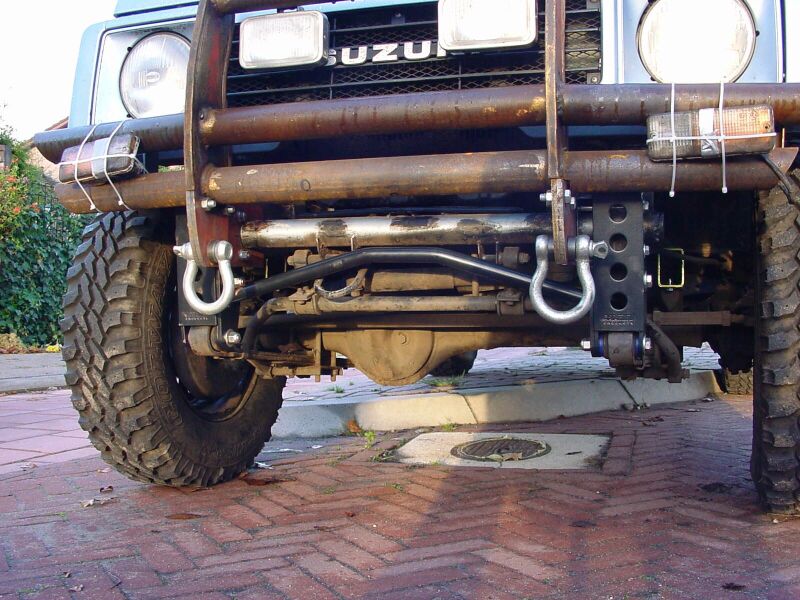
First the bolts of the original shackles had to be loosened, which went surprisingly well because this Samuari had never been Off road before, so no rust or binding. We replaced the original bushings for the new metal- and Polybushings which took only minor convincing with a big screwdriver ;-)
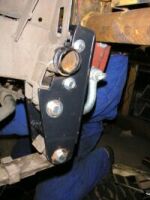
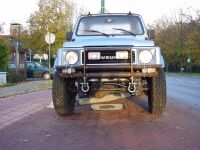
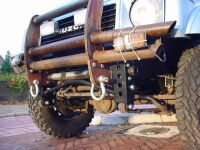
And on with the new stuff, luckily it didn't interfere with our newly facbricated bumper/pushbar, it even reinforced the chassis where the bumper is attached.
Front:

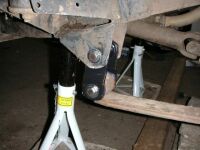
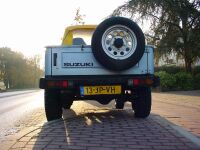
Rear:
Inbetween shot, Shackles Reversed at the front, not yet in the rear ( not as big a difference in this pic as in real life )
Put on the wheelspacers ( these are even approved by the German TÜV ), in the pic in the middle the frontspacers are on the car, 3rd pic: front and rear :
![]()
![]()
![]()
This conversion is a 3" rise. Doesn't it just look too COOL ????????
( picture in the middel is clickable for a bigger picture )
In the rear the change isn't too obvious:
Click this thumbnail below too see the difference from the standard stance:
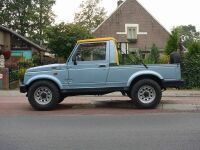
For now not too big a change visible ( it is when I'm getting in the car though ;-) ), but keep checking back !!
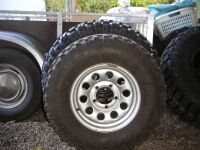
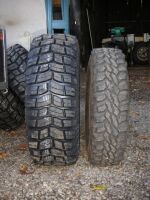
Comparing the tires that will go on after all raising is done:
215 Colway's in front of the 33x12.50 ProComp XT's, you bet the Samurai needs some more air. ( done )