![]()
ACME ADAPTERS EXTREME HI-STEER
REAR BUMPER
& SIDEBARS
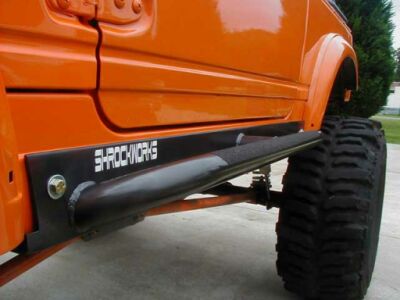
Of course, after having made the frontbumper/pushbar I had to have rockerpanelprotection/sidebars and a rearbumper. I wanted a "ShrockWorks type of slider like the one below:
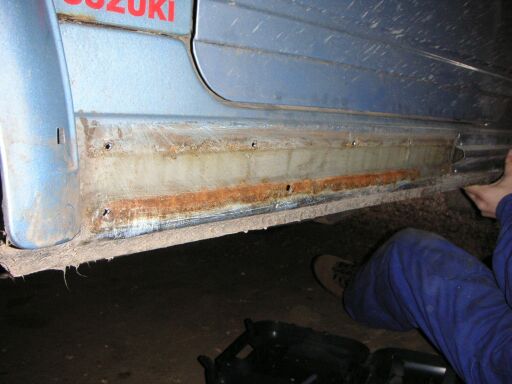
I took off the rubber sill"protection"and was were very surprised to find hardly any rust underneath the rubber panels, after reading all the horrorstories on the Internet. The fact the Samurai had never been off-road before I bought it is obviously a big advantage!
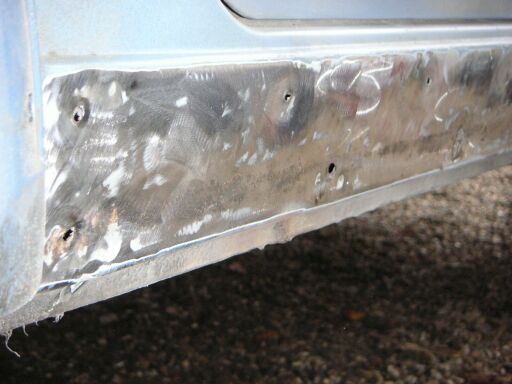
Sanded it down and tried to weld the holes, which was very hard to do due to the fact that the bodypanels of a Suzuki are thinner than CocaCola cans. No problem, I painted it with "menie" a leadcontaining paint ( no, no just joking all you treehuggers, it's actually waterpaint ) since there will be a Rockslider on top of that ( with Tectyl applied first, so it will not rot in the least bit ). Took the other side off without drilling, took a sander to the spotweld and ground them off, worked much better.
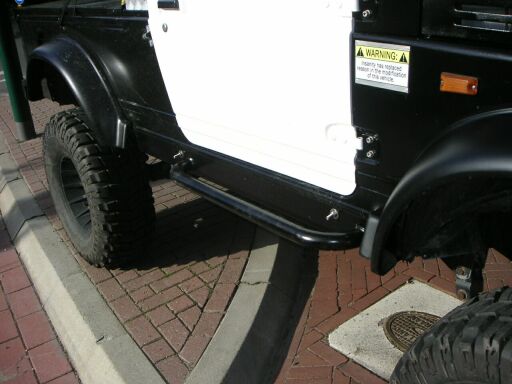
Since I couldn't find the time I had my nextdoor neighbor make them ( he owns a metalworkshop ). I gave him the measurements and he came up with these perfect fitting bars. It's a 10 x 7 cm L-profile with 48 mm bar at a slight angle. I've mounted them to the car with 4 M10 bolts with Stainless capbolts. It has 10 x 5 pieces of metal on the backside of the rockerpanel for additional strength. These are sturdy enough to stand on !

They will have Diamond Plate "stepplates" like the frontbumper has. The front and rears of the flares will also have DP inserts to close them off.
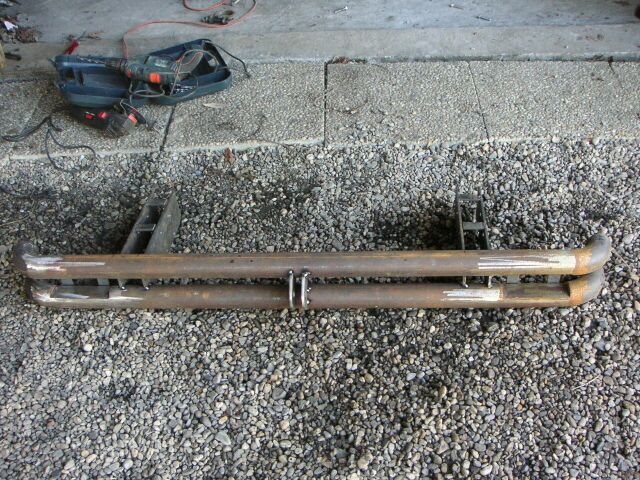
Next came the rearbumper. Luckily I did have some more time again, so out came the grinder !
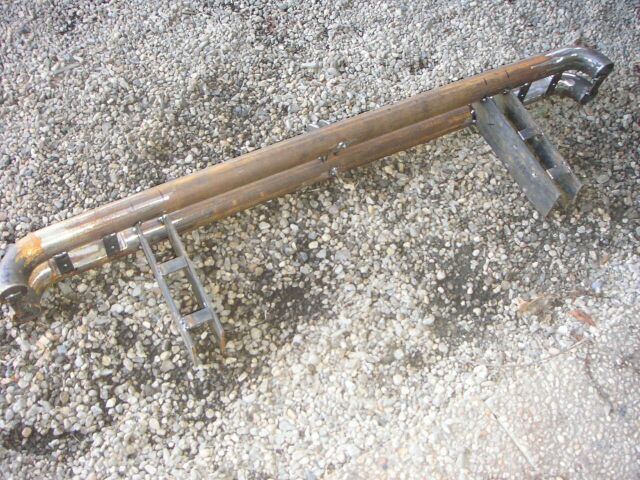
Went to the neighbor and got 2 lengths of 6 cm pipe and four 6 cm corners. Bought trailerlights and got to cutting, measuring and welding
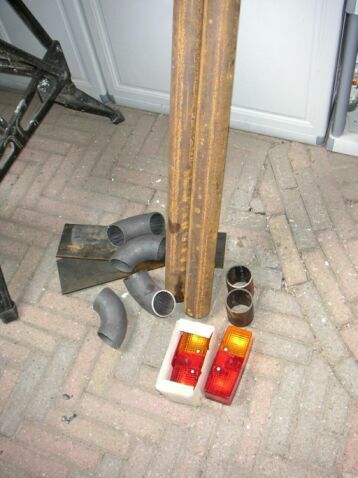
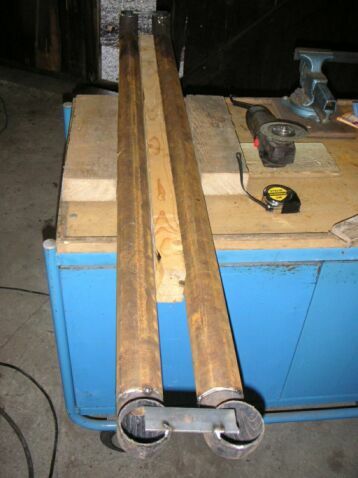
I used a block of wood to get the right space between the pipes after I welded the corners on straight ( took some time to get them right ). Then I drew where the taillights were going to go and took it all apart again to cut the pipes at the ends. Marked everything before taking it apart.
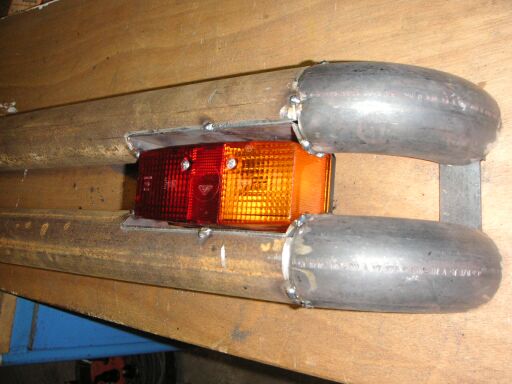
I wanted the light to be inside the bumper so I will not break then OffRoad.
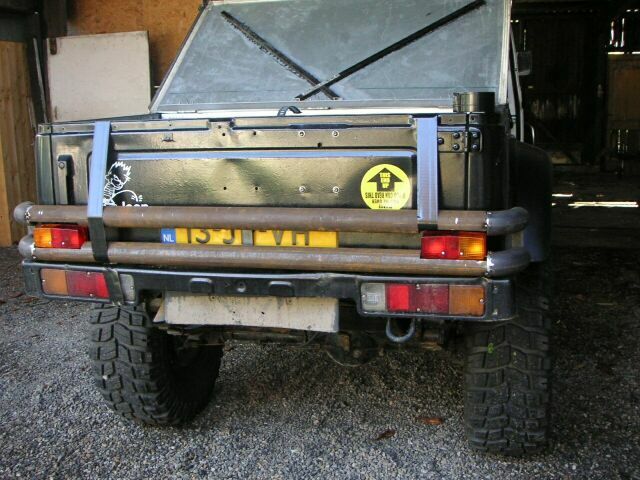
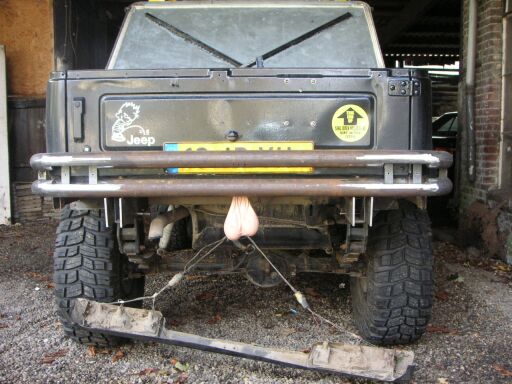
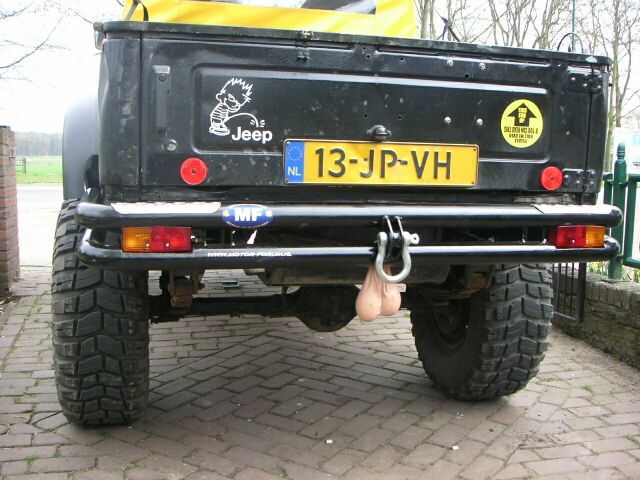
Here's a mockup on the car. It's on top of the original bumper, just for looks and measurements. Centre of brakelights is exactly 35 cm inside from the widest part of the car ( the tire ;-) ) as required by law. I do need to put on extra reflectors because the ones in the rearlights are not EU-approved. I have already moved the licenseplate to the tailgat, just need to put on a light. Foglight and backinglight will also be in the tailgate, with only the glass showing. As you can see, the tailights are inside the bumper, made a "box" of sheetmetal inside the bumpertubes.
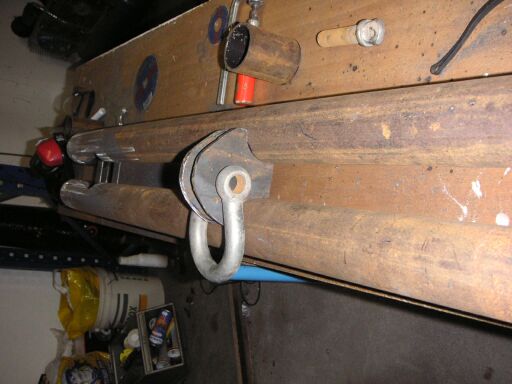
Mount for the D-ring, just needs a 21 mm hole and welding to the bumperbars
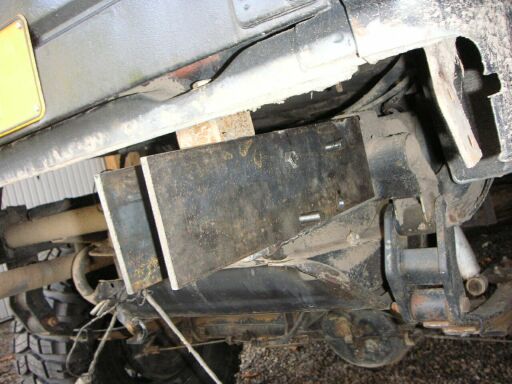
Mounts to the chassis, drilled according to the holes in the chassis for the towbar, welded two strips to the top of these mounts so the chassis won't be crushed when tightening the bolts. Just needs the shape of the bumperbars ground out to fit. I'll also weld a "truss" inside the chassis for the lower bolts.
And the most important thing on the bumpers: the M8 bolt welded to the inside of the lower bar for the TruckNutz ;-) :

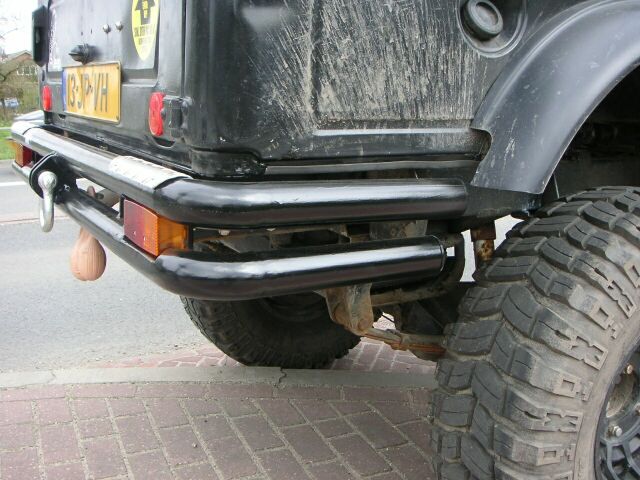
As you can see, it's finished and painted Hamerite Black ( of course ). Very sturdy,I can stand on the sides without it bending. I will put a pipe in the original rearcrossmember ( like I did through the front crossmember for the frontbumper ) when I add the exo-cage for extra strength.
Check back for more pics soon !