![]()
SPOA
Well, it just had to happen, didn't it. I wanted an Extreme Samurai and already had the 3" Calmini Shackle Reversal and 2" Bodyliftkit. When I put on the 3" IronMan suspensionraise it became obvious that the 33"would fit..............................when standing still, not when going to full lock on the steering. I did the front suspension and found out the shocks supplied with the IronMan package were probably long enough to cope with the IronMan set-up, but not for the lift I already had so I stopped before doing the rear, had the Sammi picked up and brought to Suzi's Place in Buren to do the SPOA on a garagelift with professional help of one of their mechanics.
There are numerous sites to show how a SPOA is supposed to be done, so I'm not going to bore you with that, just use Google ( or any searchengine ), just some pics of the shockmounts and some poserpics ;-)
Original with U-bolts taken off:

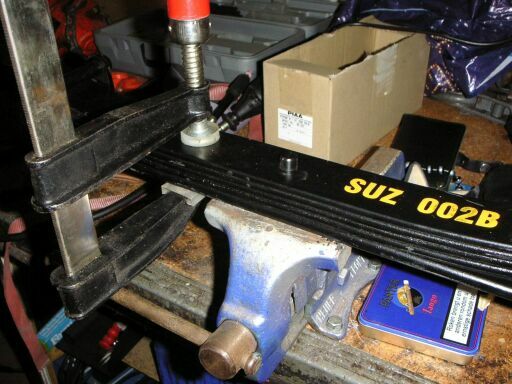
Unbolt the towerbolt that keeps the leafpack and put it back in the other way around so the pin is now on the bottomside of the package or it will not fit in the SPOA-pad ! Keep the leafpack together with a suitable clamp.
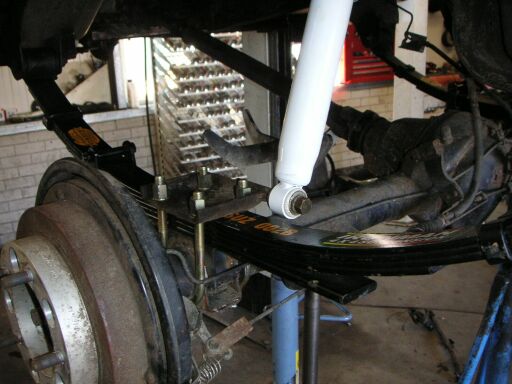
Welding on the new SPOA-pads, IronMan leafs installed
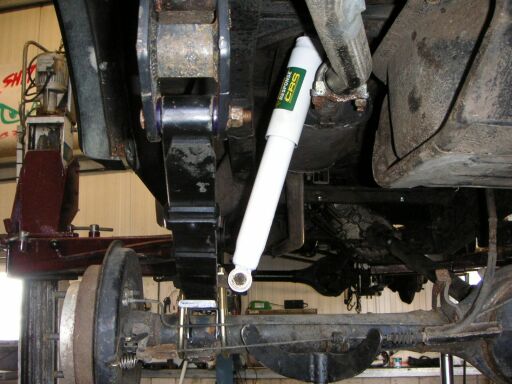
Rear's ready, shock mounted on original bolts on axle and above, touched the exhaust a little, but nothing we couldn't "massage' with a hammer
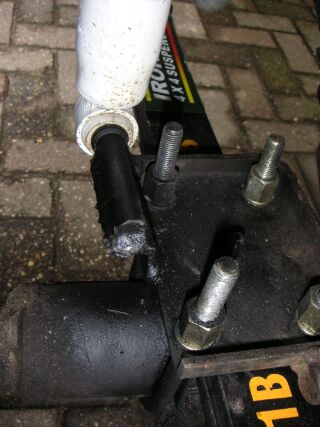
Front shockmounts on U-boltplates. I did not flip them from side to side because of the difference in U-boltpattern ( right is wider apart due to the diff being on that side ), just cut off the shockmount, welded on a piece of angle iron and welded the shockmount on top of that to win some shocklength back.
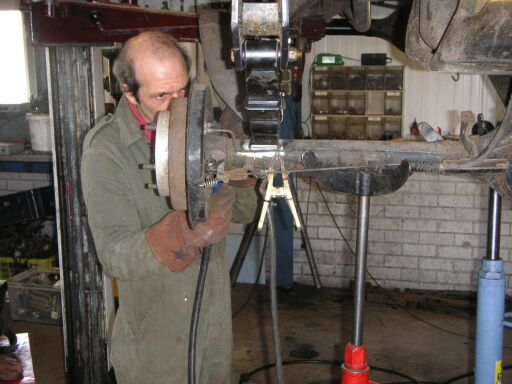
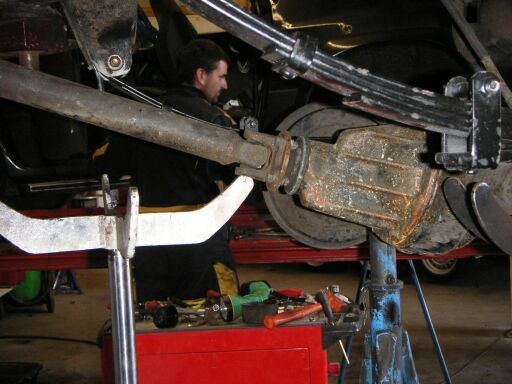
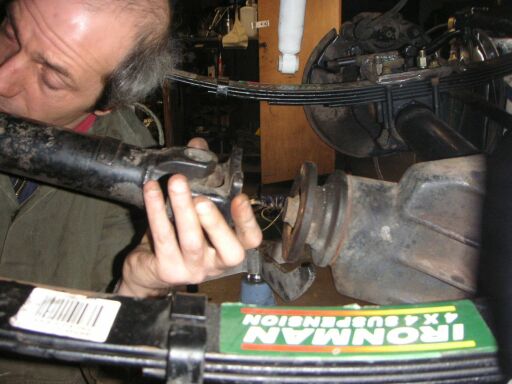
We took all the time we needed to adjust the angle of the axles, on the rear it was more by eye than by measurements, supported it with a jack and welded the pads:
In the front we ( well, actually Arno did ) measured the angle of the axle of an original Samurai with a "waterlevel" ( but I don't know if that's the correct word for it ) over every point we could find and only welded it when we were completely satified.
Because of all the lifting the front driveshaft was 6 centimeters too short, so we searched for and found another LWB reardriveshaft, which we shortened and to which we welded the cut-off original frontdriveshaftend with the U-joint:
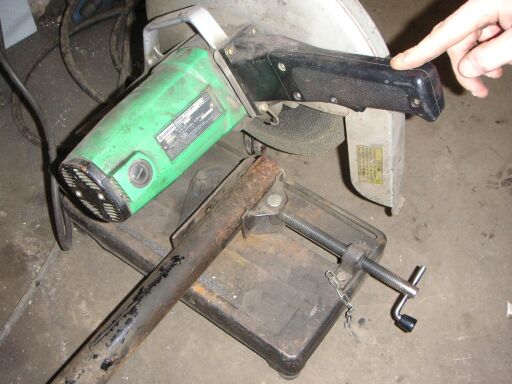
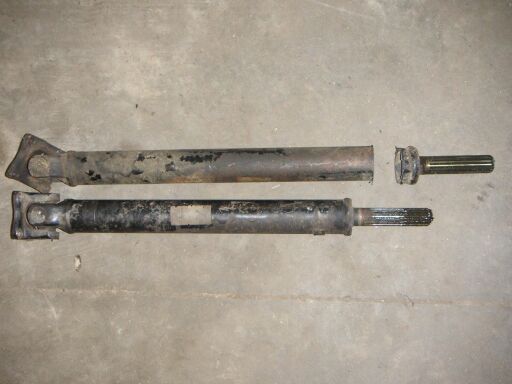
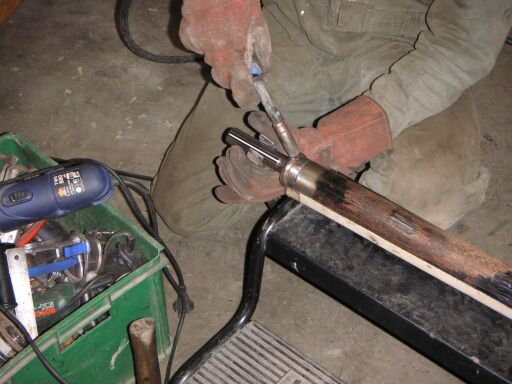
We put it in a piece of angle-iron to get it as straight as possible. Bolted to the axle and T-case there's a slight excentric motion which you can feel when turning by hand, but this being the frontaxle only being used at slow speed we figured it wouldn't be a problem. Took it out off-road and we were right, no noticable vibrations or forces.
We may take it apart when we feel like it and do it again, it may damage the T-case sealrings/bearings or T-casemount. ( we didn't, works perfectly )
As always: when you've got questions or need more detailed pics, mail me on max@nitromax.nl